
So one Saturday morning I was sitting there watching one of them about hemming shirts or something. Ok, feel free to insert in Julie is a dork for watching these shows... Well call me names, but this was so awesome I almost jumped out of my chair I couldn't wait to try it!
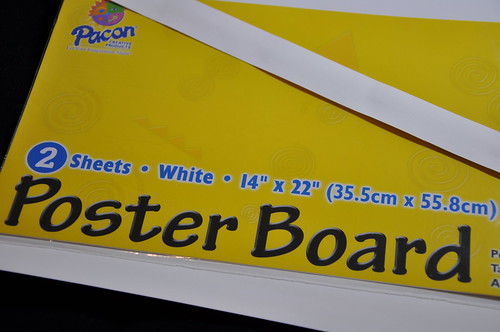
So the featured lady was showing that she was hemming and she didn't like marking the fabric and then making sure it was folding perfect all the way across, etc. I was saying internally since the rest of the house was asleep "SAY IT SISTA... I KNOW HOW YA FEEL" it was then that this magical lady pulled out a piece of poster board an inch thick all the way down. Her fabric was right side down, then she folded the edge of the fabric up one inch to the edge of the poster board and ironed on top of the fabric with the poster board inside. She said it wouldn't harm the fabric or the poster board. I knew I could totally use this technique for my burp cloths and thought... alright lets try this baby out!
So I took my poster board and cut out a one inch strip...
Then I took my fabric and cut the 17" wide x 10" tall piece of fabric...
Ok, I forgot to take a picture of this one, but imagine a picture of a piece of fabric in a rectangle. :o)
Then I took my poster board and started folding up the edge on the long side all the way down and ironing the inch piece up all the way down using the poster board as my guide...
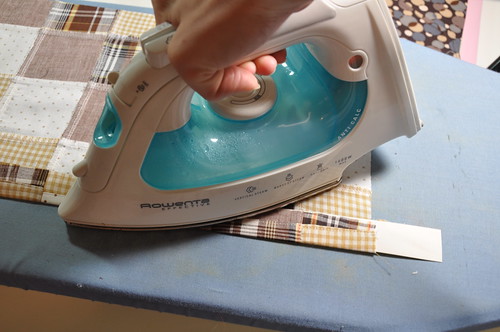
Then I flipped it and did the other side. Once I was done it was 17" by 8" and looked like this...
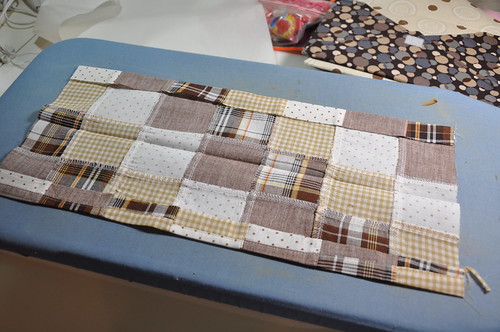
Then I folded it wrong sides together and ironed down....
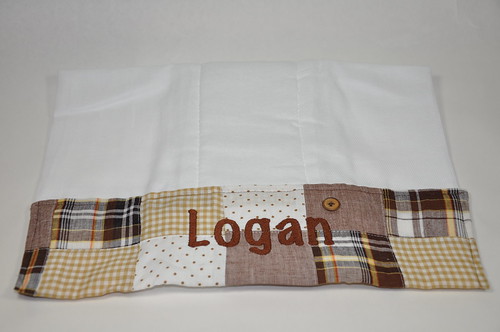
After this I found the center point on one side and embroidered the name on it. Then I sewed it on a two ply cloth you can get in packs in the baby area at walmart or target. The cloth was inside the fabric fold so the pretty fabric is on both sides at the bottom. You just pin it to make sure that when you sew that you will hit both sides when you sew... it is ok if the back isn't perfectly straight. They won't be looking at the back, promise. Then just tuck in the sides towards the back and sew up the sides to close in the hole. Let me know if you need more pictures of this part. Anyways, it makes for VERY cute burp cloths, even if you don't embroider them!
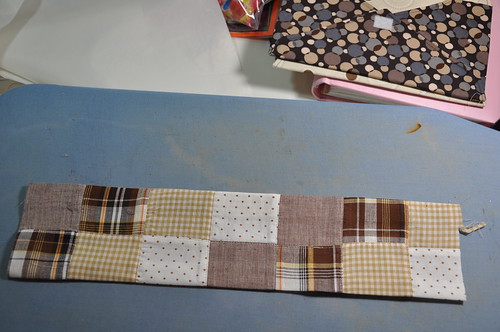
Here it is folded in half (oh, see that little button? It's cute right?!?! That is my screw up fix, so who said that making mistakes can't turn out cuter? For those with inquisitive minds.. I accidentally cut a tiny hole in the fabric, so after straightening it from the back I sewed the cute button... no one was the wiser and I didn't have to re-embroider something. I did sew a button to one other one so it didn't look out of place)...
Let me just add here, that once I tried it... it saved me so much time I couldn't believe I hadn't thought of it before. We are talking take one item that took 30 minutes to mark and iron down to less than a couple minutes to be ready for embroidery. Uhm, HEAVEN!!!
So what do you think of my new trick? How about the burp cloth? Pretty easy to embellish huh?
Hope you are having a great Friday... I am at the Zoo with the family! Have a great day!
TTFN~

This is great, I hate measuring and marking, and never get a straight hem anyway! This should make my sewing a little easier and neater, thanks for sharing.
ReplyDeleteHope you have a lovely day at the zoo and enjoy the rest of the weekend!
Great idea! My mom gave me these long hard plastic things that was in different size's that you can use this same way..but after a few uses they tended to "curl" and do a wavy number..I like your idea much better!
ReplyDeleteUm, I watch the sewing shows too. :)
ReplyDeleteThanks for sharing. I have a small paper ruler that I use instead of measuring and marking but this would be great to have in a larger scale!
ReplyDeleteHey I love this......Easy way to make a burp cloth. Do you have pics of the back of the burp cloth? I was wanting to know how far in the back you put your fabric
ReplyDeleteHey Ashley, great question. I don't necessarily have pictures of the back, but it is exactly the same on the front and on the back. The bottom edge of the burp cloth sits in the fold and then when you sew, just do it 1/4 of an inch down so that it will catch the back, may not be perfectly straight, but no one looks at the back anwyays. Let me know if you need pictures, I am sure I could borrow the ones I made for my sister so that you could see. Might be a week or so before I can get you the pics, but would certianly do it if needed. Thanks!
ReplyDelete