Ever wanted to do a candy house but didn't want to buy an expensive one, make the cookie part just to fail, or bought one and it fell apart? Well your in luck.. I have a solution thanks to my wonderful mother (who is a kindergarten teacher) who does this with her class every year.
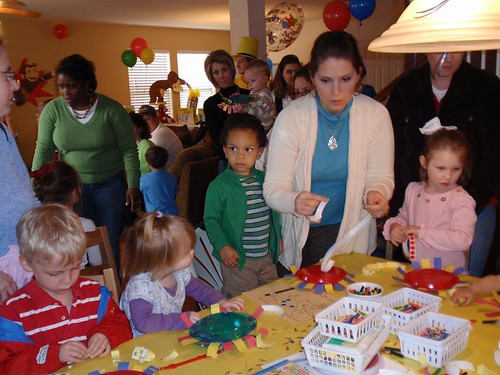
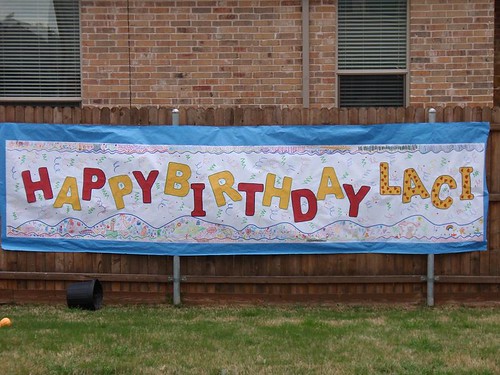
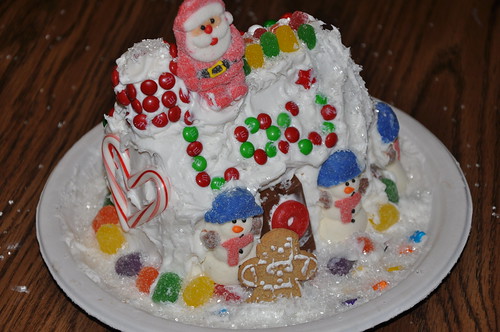
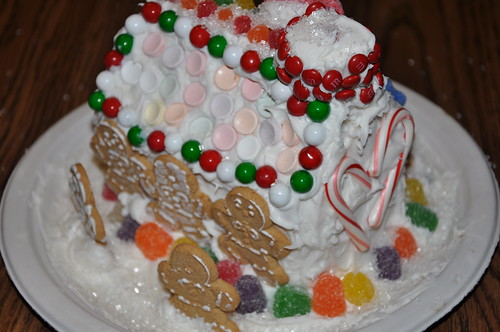
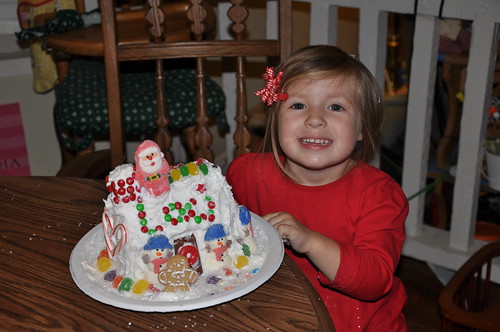
Saturday night we went over to my mom's house who had all the stuff ready for Laci. Here is the candy house that Laci made this year...
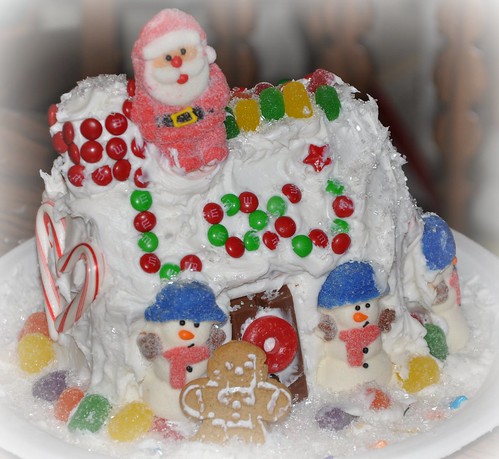
Side 1:
Side 2:
How do you make this really cute little house?
Supplies:
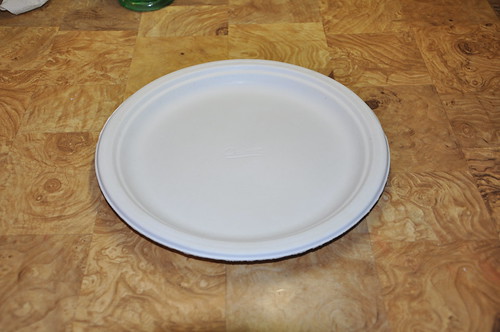
(1) Heavy Duty Paper Plate
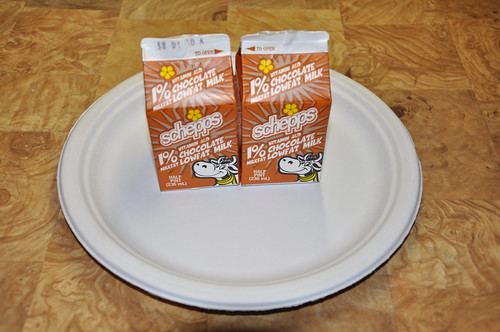
(2) Milk Cartons (washed out and dried)
Hot Glue Gun
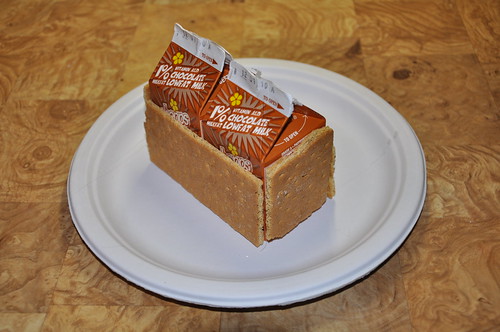
Graham Crackers
Large Marshmallow
(2) Cans of Icing
Candy to decorate
Here's how it goes....
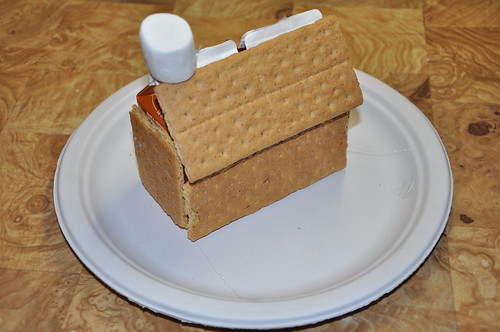
Take your Milk Cartons and hot glue them shut, then hot glue them together like this...
Take your paper plate...
And hot glue your milk cartons smack dab in the middle...
Take your graham crackers and hot glue them on the side of the house like this...
Take two more full graham crackers and hot glue them to the top like this (do this to both sides)...
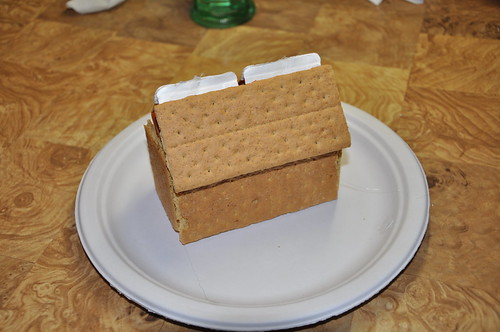
Take your big marshmallow and hot glue it to the top like this (this is the chimney)...
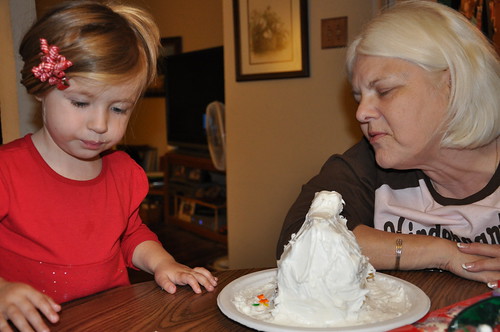
Then ice the house (best to do this step for your little one too... I promise, the process is MUCH better if you do it for them)...
Here you see my mom using a piping bag to fill in the holes and under the roof line...
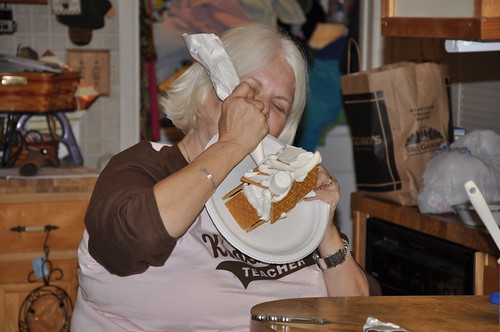
Then she would glob it on and use a knife to spread it around...
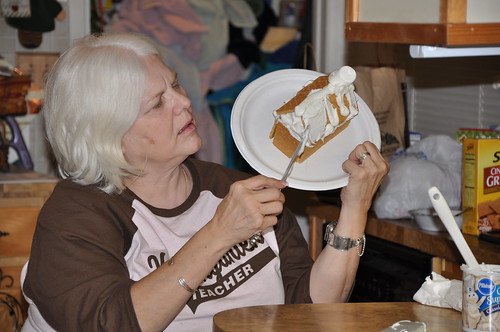
Here you can see that it by any means isn't perfect looking icing, but by the end it doesn't matter at all, you can't tell...
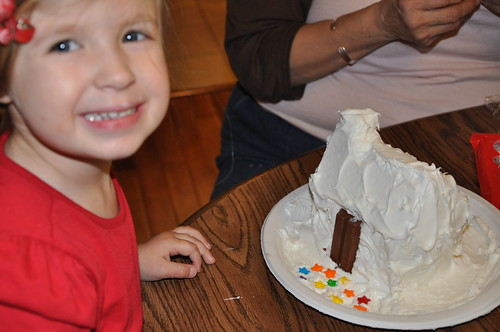
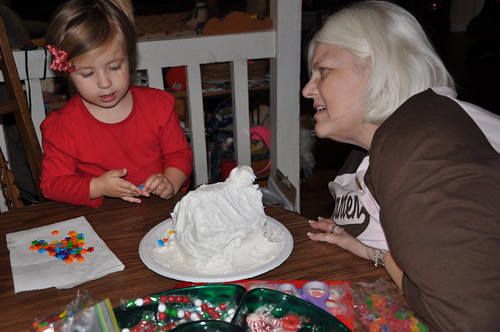
Then you let the kiddo decorate to their hearts content...
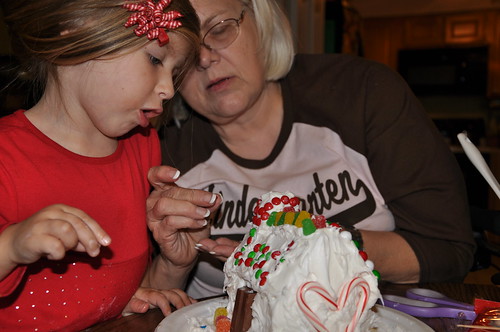
Here you can see some of the candy at the bottom of the picture that we had in a container that separated it out so it didn't get all mixed up...
Then when you aren't paying attention they will grab the spatula with the icing on it...
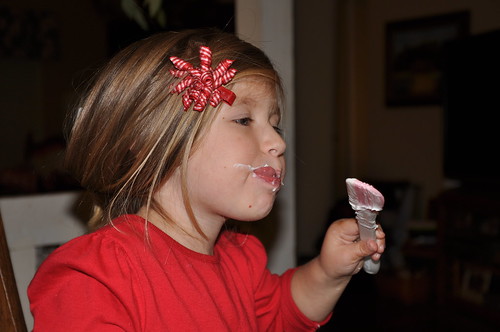
Then make sure to get a cute shot of your little tyke who is super proud of their candy house...
Enjoy and I hope you have fun making a candy house of your own to dawn your table.
TTFN~


.jpg)