
So whether you are here because you have been long awaiting this tutorial, or are searching for the perfect handmade baby gift I can help you out. Only thing required is a basic sewing machine in addition to the materials for the diaper wipe holder.
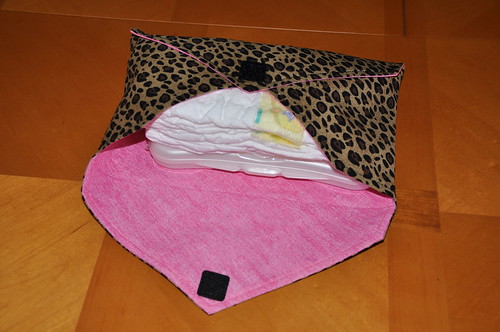
This is what you will be making…
Materials Needed:
(2) Different Kinds of Fabric for the D/W holder
Matching Thread
Velcro
Medium Weight Fusible Stabilizer
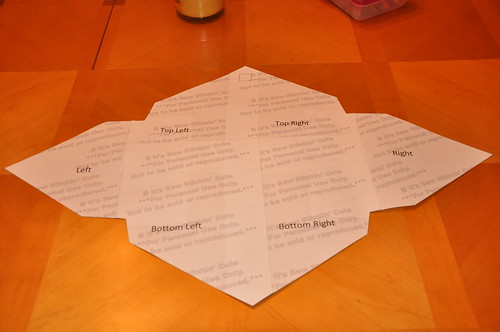
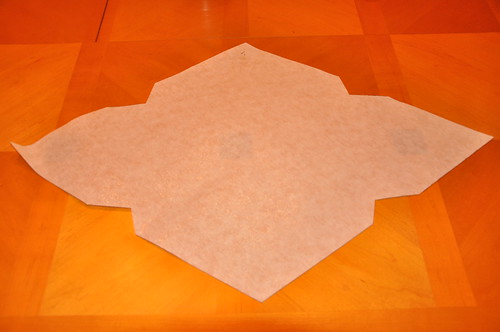
First things first, go here and download my awesome pattern. Cut it out and glue or tape it together. Please note that the straight lines are the outside edge, the dotted lines can be cut more free hand not paying as close attention. I would suggest if you want to keep the pattern then to transfer it to a more permanent solution. I did mine on a medium fusible weight piece that holds up to tracing, cutting around and doesn’t flop all over the place or rip.
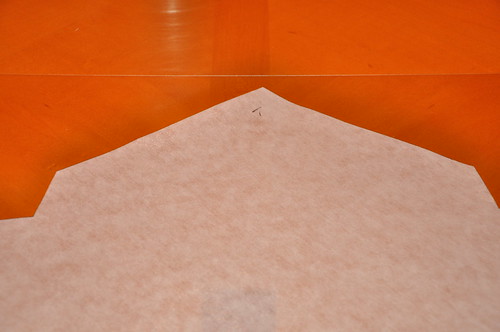
When lining this up you will want to line up the corners, you will understand once you print it off and start piecing it together as they are well labeled. If anyone has questions please let me know so that I can clarify more.
Here is the pattern all cut out and taped together:
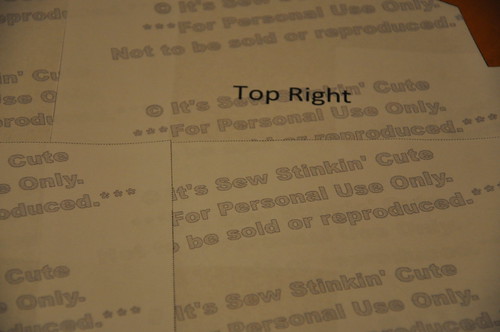
Here is a close up of the writing on it (sorry about labeling it so well, just don't want anyone to run off and try and sell it - this is meant to be free):
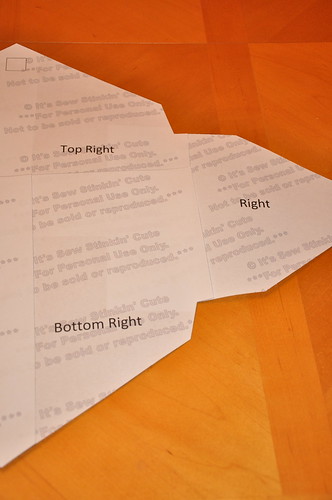
Close up of the right side of it:
This is the normal piece I use for the pattern since I don't like paper, it rips, wrinkles, etc. this is the medium weight fusible stabilizer:
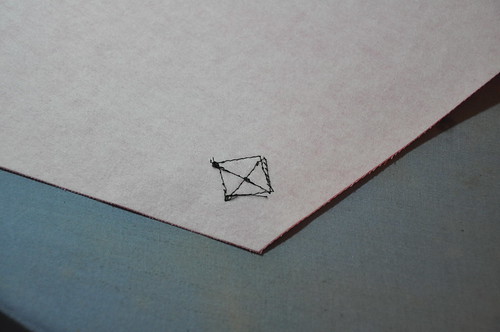
Here is where I marked a T on the top where the Velcro goes really either side could be the top, I just like being consistent since the pattern isn't exactly the same on both sides:
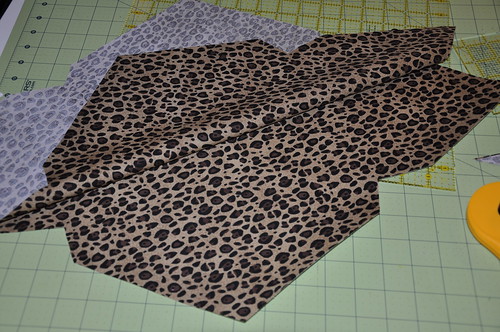
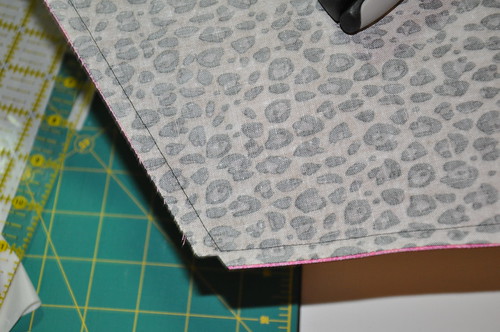
Now you will need to cut out your fabrics and medium weight fusible stabilizer. You will want your fabrics wrong side together when you cut them so that they line up perfectly when you are making your diaper wipe holder. Your fusible piece should be shiny side facing the wrong side of the fabric you want on the inside. If you are able to layer and cut out all three layers at the same time, do it if possible so that you get the exact same cut, if not, just pay close attention.
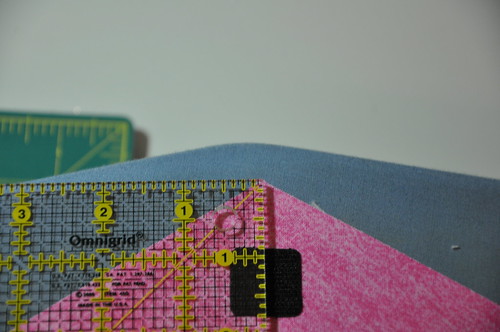
I use my rotary cutter for the outside edge and then some blunt edged quilting scissors for the corners to get a clean cut (note, I do not use pins on this stage, I walk around my table cutting using the rotary cutter and the guide then lay the plastic guide piece on top and pull the corners off the edge of the desk to use my blunt scissors on the corners. I don't like using pins because I can't use my rotary cutter guide if they are in. Does that make sense?

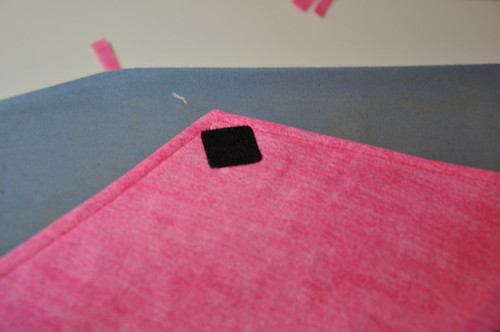
Once you have cut out your three pieces you will need to iron on the fusible piece to the back of the inside pattern cut piece. Once that is done you will need to sew on your Velcro piece. See picture for location, but it is between ¾ of an inch and an inch.
When you sew it on like this so that the sucker won’t come off (this is the back side for reference)….
Next you will pin your two pieces together. The more the better! So, you have pinned them together and are ready to start sewing this sucker up. You will need to sew a ¼ inch edge around it except where indicated in the picture. Below you will see where I refer to top and bottom. The top is where the Velcro is. In this picture you will see two arrows. This is the location you will want to leave open so that you can turn it inside out.
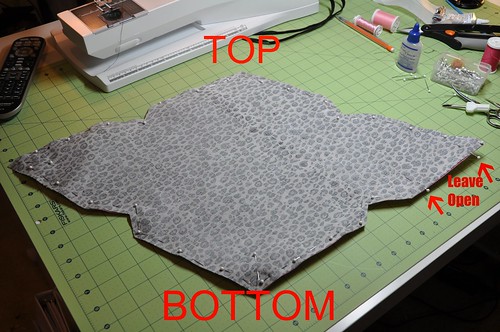
Here is where I left that spot open…

Next you will need to use those blunt nose scissors I was talking about to cut some of the corners. If you don’t know what kind I am talking about here is a close up…
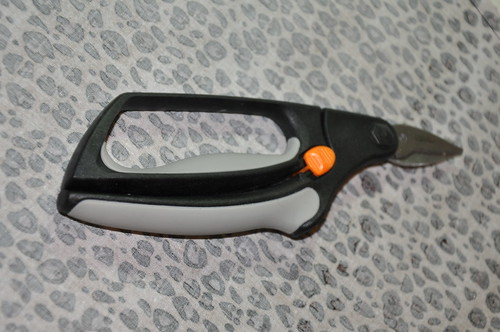
They are sharp all the way to the edge and it is easy to use because they are spring loaded… bonus!
Examples of my cuts:
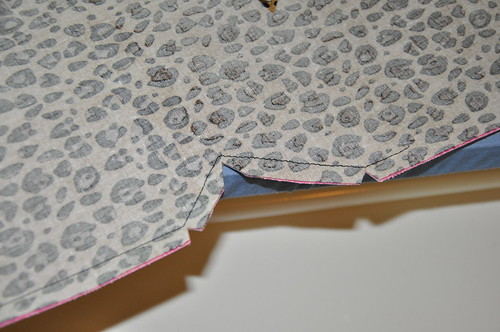
Next you will need to turn it inside out. Work slow and deliberate and it isn’t too bad to turn. I am getting good after doing a couple dozen of them. After turning it and making sure all the corners are now out and flipped properly you will need to go around the edge topstitching about ¼ of an inch all the way around the outside edge. When you are closing up the spot that you turned, don’t worry if you have to go closer to the edge on that part, it will be hidden when you make your envelope.
Before you pin the holder in place, iron the flaps the correct ways so that it stays in place easier. Left and right fold in and then the bottom folds up to hide the bottom of the left and right flaps.
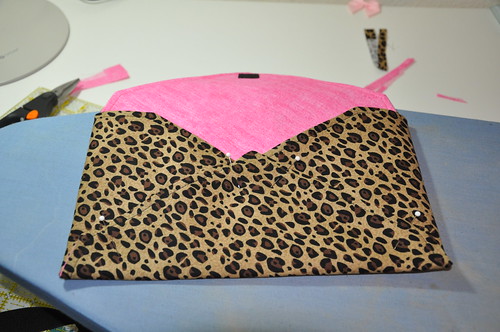
Here you see where I pinned it in place. I usually use 3 pins to each side.
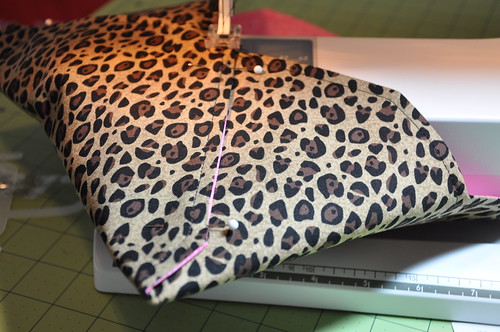
Now remember how we went 1/4 inch around it? Well you will then need to follow that line down the edge so that the holder is now stitched together. (did that make sense?) To do the right side you just go forward, it’s pretty easy, to do the left side you will need to go in reverse on your machine, unless you know something fancy about machines that I have failed to learn. This is one of the toughest parts because you are going into a corner, but you just work it and start flipping it as you are sewing down the line. At least it is pinned and you have a guide line to follow.
Then last but not least you take your flap with your Velcro and figure out where the other piece should sit on the bottom. Keep in mind that it is empty and that it will have quite a few things in there, I usually like to put it to where it will still catch the Velcro, but otherwise as high up as I can get it. You could always shove a couple diapers and a wipe case in there too if you have some to get an idea of the best spot to put the Velcro.
Closed and full your diaper wipe holder should look something like this…

So there you have it, a long detailed, picture filled instructions on what I do and how. I hope that everyone enjoys the tutorial and if anyone has any questions, please let me know so that I can help you and other people who may have the same questions.
TTFN~
Love it! I have some baby showers coming up that this would be perfect for! You rock.
ReplyDeletecute design! Thanks for the clear tutorial.
ReplyDeleteGreat tutorial. I can't wait to try it out. I have a niece coming in a few months, so I should get started now!
ReplyDeleteThis is on my to-do list. I would love it if you would link up to my Tuesday Confessional link party going on now: http://www.craftyconfessions.com/2011/07/tuesday-confessional-link-up-2.html. I hope to see you soon!
ReplyDelete~Macy from Confessions of a SAHM
great idea! I love the animal print.
ReplyDeletemegan
craftycpa.blogspot.com
Loved how it turned out. :) Following you from Tip Junkie‘s link party. Would love to have you link this up to my {wow me} wednesday link party going on right now over on my blog. Hope to see you there. :)
ReplyDeleteGinger
gingersnapcrafts.blogspot.com
Hi again. I was just thinking that I'm so glad that real seamstresses post tutorials for cute stuff. I have this terrible problem of slapping things together (including a diaper holder I made last week which I will NOT be posting a picture of) from scraps and odds and ends that end up looking...special. But I throw them in the diaper bag anyway and hope no one ever looks closely.
ReplyDeleteBut I love reading clear tutorials like yours and thinking that someday I'm going to make something right. :) Great photos. I know this kind of thing takes a good amount of work, so thanks!
Wow, that is so darling! I'll have to remember your tute for if I have any more little ones :) Thanks for the bloggy visit!
ReplyDeleteAs always, your sewing looks awesome! I'm sewing a diaper clutch thingy at the moment, and by sewing I mean unpicking the stitches were its all gone wrong! Wish I'd seen this tutorial earlier LOL!
ReplyDeleteHow handy! I'm going to have to make one of these for our trips to the gym. Thanks for sharing!
ReplyDeleteAmy @
SassyScarlett.blogspot.com
Great tut! I'm going to make this for my niece and her little baby boy! Thanks so much!
ReplyDeleteXoXoXo
Joy @ tomorrowsmemorieskjlb.blogspot.com
Love it. Thanks for sharing
ReplyDeleteHow much fabric material do you need for this?
ReplyDeleteHow much much fabric material do you need to make something like this?
ReplyDeleteFabulous question Lidia... uhm... I stink at giving these types of numbers. I would say half a yard to 3/4 should do the trick fine, but my biggest suggestion would just be make the pattern and take it with you so that you don't end up like me with a TON of extra.
ReplyDelete